We can talk in circles about how apps should be intuitive and most things should be so easy that you don’t even need to read the manual. OK, cool cool cool.
This philosophy does not, can not, apply to animation software.
The Problem: Animation Software is Clunky
Exhibit A:

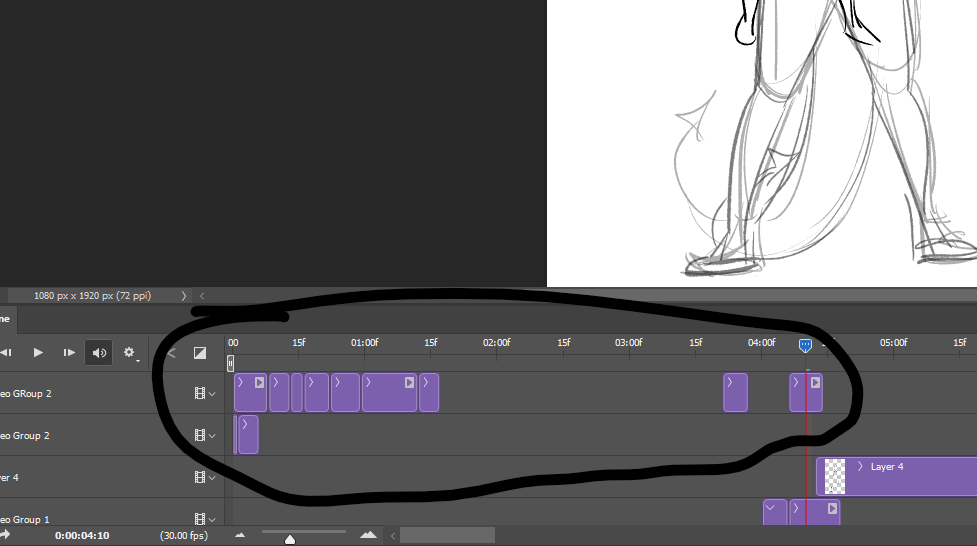
Exhibit B, from when Adobe Photoshop decided that it would helpfully move any frame I attempted to scrub (manually move around the timeline) to the start of the timeline, thus completely defeating the purpose:
And the thing is, I’m not sure there’s a good way to fix it. In order to have a feature-rich art application, you have to have a lot of features. And if you have a lot of features, some of them are necessarily going to require more complex processes to use than others, or be buried in the menus and settings somewhere.
So What’s the Alternative: I Don’t Know
Adobe Photoshop is deceptively intuitive but doesn’t work consistently. Clip Studio Paint is buggy in a predictable way, which makes it easier to work with even though it is still frustrating.
I thought about trying Toonboom out, since it’s an animation program and not an illustration or photo editing program with an animation feature, but then I realized it costs $600 per year on a subscription basis and decided that I am smart and independent and can figure out the software I already paid for.
How to Animate in Clip Studio Paint
Currently, the workflow I’m finding the most tolerable is in Clip Studio Paint. It goes like this:
- Select File > New… > Animation. Configure settings accordingly. Hit OK. Yada yada yada.
- Make the timeline visible: Window > Timeline.
- Cry a little.
- Select the default animation cell and select New Layer Folder.
Note, this is distinct from the nearly identically-named New Animation Folder, which is the wrong button to push and will make your timeline increasingly unnavigable and ruin your Tuesday.
If you correctly select New Layer Folder, you will notice that you can’t actually draw anything in it. “Trust the process,” or something. - Now that you’ve created a New Layer Folder, ignore that completely and instead create a New Animation Cel. The new Cel should appear in a folder.
Alternatively, you can right click on the timeline and select the layer folder from the menu.
Since you’ve done this at the start of the process, now every time you make a new cel, it will appear in a folder. You need this if you intend to color anything ever, or else you will manually have to convert all of your frames into folders. You can add whatever other layer types you need into the folder and it will all appear as part of the same frame.
If you DON’T do this, then you’ll have to do everything on the same layer. And then you’ll have to repeat Step 3 over and over.
Some animators might prefer to have different animation tracks for different parts of the same drawing. For example, you might draw the facial expression separately from the body and movement to make lip-syncing easier.
Conclusion: Just Keep Trucking, or Something
When I eventually work out how to get this to work in a way that is not so utterly aggravating, I will attempt to write a proper tutorial. But for now, I’m just stuck in the Hell that is trying to navigate these programs because every animation software ever created is kind of a buggy mess. That’s why I’m an illustrator and not an animator.
(Note: Every illustration software is also a buggy mess.)
Anyway, actual animator Manu Mercurial on Youtube has a pretty comprehensive Clip Studio Paint animation tutorial, which I’ll post here for anyone curious.
I have a harder time finding Photoshop animation tutorials since they keep changing the UI and still use the same program name, but I’m sure they exist.

Leave a comment